Sunday, February 8, 2015

Why nothing ever seems to get done ... or maybe project management issues?

Recently there was a post on the Facebook Traction modeler's group asking the question of who has multiple projects going at one time. That question made me think of all the projects I am working on simultaneously. I didn't realize how many things I've been working on so I decided to catalog them.

These are the "major" layout related projects that I currently have "in the queue". 

1) In the following picture, there are at least six projects that I still need to finish:

  • The Cincinnati Car Co. CRT Baldie still needs finishing
  • The MTH 6200's still need to have their 'repaint" finished
  • The large apartment building behind the 6200"s needs to have the porch/deck build (wood is cut, just not assembled). Plus, need to cast more doors. I am out of that style of door.
  • The apartment building to the right of the larger building also needs its porch/deck finished.
  • I need to ballast the short stretch of viaduct track
  • Need to finish the ground cover under the tracks.


2) The stairs to the Southport station need to be finished. Below is just a mock up of the eventual stairs.


I am hoping to have the stairs and railings laser cut. The drawings for the stairs are almost completed. Below is the initial plan of the stairs and railings.


3) The station house still needs to be finished for the Southport station. The "work in progress" building front sits in place under the tracks. I also built a sign and support structure for the small building slice that sits next to the station. I need to paint that, create the sign and then install.


4) The area behind the Cabrini Green curve needs to be finished. Both structures here are paper over MDF. The small building to the left will become a larger, angled structure that I will build much closer to the tracks. The Cabrini Green high rise apartment building to the left will be rebuilt in resin ... once I make window and wall masters then cast the pieces.


5) I have an on-going issue with material storage and organization. Below is the completed project of sorting and cataloging my supply of strip styrene. I consolidated multiple duplicate bags into one bag per size. Now I just need to figure out a good storage method.


6) In the following picture, the two buildings on the left need to be completed with details and back porches. These will be the rears of two two-flat apartment buildings. They are both scratch built from styrene and N-Scale Architect brick sheets. The larger building to the left is paper and MDF. That will have to be replaced by a styrene building that has more depth.


7) I need to finish and paint the Island Model Works 2200's. I'll also have to perform some surgery to the donor 3200 chassis as the IMW bodies sit too high.


8) At the Sheridan Road station, I need to add lights, finish the ground level details and replace the canopy. I'll probably also rebuild the stairs and most likely replace the station platform. Currently the platform is made from Evergreen Styrene scribed sheet, buit I want to replace with individual wood planks. Also, the paper building behind the station needs to be replaced. 


9) The new commercial building needs to be finished, the scenery added to the corner module and the background buildings need to be finished.


10) The apartment building needs to be finished and the street scene finished. Also, brick background flats will be added to the back drop here.


11) The new elevated extension and station needs to be completed. Stored below the track are my experiments in 2 rail track ... conversion of the layout to two rail is still in the distant future!


12) The expansion. This area will be the Logan Square terminal (pre-subway). This will be a massive undertaking as all the structure and buildings will have to be scratch built. So, for now, the benchwork acts as a storage shelf. Also shown on this is an apartment building flat that originally was going to be located at the Sheridan curve. However, it blocked the view of the TV so I'm not sure what I will do with it now. Also, hidden to the right is the first Baldie 3D printed prototype model. I haven't decided what to do with that yet.


13) The ongoing mess of the workbench. I still need to organize this!


Next up will be a review of the 3D printing projects.

Sunday, February 1, 2015

Urban Renewal ... Part Five

Work continues on the new building ... if now at a somewhat slower pace.


The back wall has been joined with the rest of the building.


And as will often happen with styrene, there was a slight bow in the front of the building. That has been corrected with the addition of some internal bracing.


Next up will be adding a chimney (already done, then skinning the inside of the walls (parapets?) on the roof. Then the whole building will be painted. I then will add the stone trim. I've found it easier to do this way ... makes it easier to add mortar.


In other projects, I finally started work on the stalled section of elevated structure that will complete a new leg of track.


This is a mix of cast resin girders along with strip and sheet styrene.This section will go on the far right of the structure in the below picture:


Here I am mocking up the curved section that will bring the two tracks back together. They split to allow a center island station.


This area of the basement room is not really a great spot for the layout as it is sandwiched in a small area next to the furnace and hot water heater. Add in a water softener (below the bench work) and this was supposed to just be an unscenicked section of track. But, I figured that a small island station of no particular prototype would fit.

Also, the 3D printing has been coming along. I have not given up on that. The next few posts will detail my efforts to improve and refine that process.

BUT.. a Baldie has been spotted "in the wild"! This is NOT my car, but rather Ed Halstead's ... 


If you don't already ... you MUST FOLLOW ED'S BLOG. It is linked on the right side in my list of blogs that I follow. Ed is a true master craftsman and his hints / tricks / techniques / methods are timeless and his knowledge of model building is amazing. If you ever THINK of building any traction model, a requirement would be to read Ed's blog in its entirety!

If you're too lazy to scroll over to the right, click on the following: Modeling Insull's Empire in O Scale

Stay tuned!

Saturday, January 10, 2015

Urban Renewl ... Part 4

Work continues ... although now at a slower pace ... on the new commercial block.


The sides have been cut and added to the front:


The side walls will have no windows. Once wall will face the L station, so definitely no windows there. The other will have some advertisements, so no need either.

Don't be skimpy with interior bracing. I've found that you really can't over-brace. Use all the scraps from the window cut outs:


Once the side walls were attached, I cut the roof out of 0.040" styrene and attached that to the shell.


I'll be adding additional bracing to the roof shortly.

Next up, I cut out the windows and doors to the back wall:


I used a combination of the doors and windows I had on hand (all cast resin from scratch built masters). I decided to use solid panel doors for the stores as security wouldn't recommend windows in the doors. I will next brace the back of this part to stiffen the joints then skin it with brick sheeting.

It was asked what brick sheets I use. I currently do the majority of my buildings with N Scale Architect O Scale Modern Brick Sheets:

The N Scale Architect

I highly recommend these sheets for the following reasons:


  • Size: 10" x 14": This helps eliminate seams in your buildings. Some seams are always possible, but this large size definitely helps
  • Quality: I've yet to get a bad sheet (I've ordered over a dozen sheets). The quality is consistent throughout the sheet ... no "fading" towards the edges.
  • Ease of cutting: Being 0.020", these are very easy to cut.
  • Cost: Well, $10 a sheet isn't cheap, but you get what you pay for. So ... they (N Scale Architect) do have volume pricing which can get the sheets down to $8 each. And, once you start, you wont stop building so the more the better!

Saturday, January 3, 2015

Urban Renewal ... part 3

Two posts in one day! It might be a miracle, or just a snowy, rainy Saturday in Chicago. No need to go outside, so why not work on layout?

Anyway, the second floor of the new building has been built and added:


To create the second floor, lay out the windows in the desired pattern. A few years back, I made my own window masters and cast these windows out of resin.


These windows are large for O scale, but I based it off a window found on the Ameritown series of buildings. Its more a 1:45 scale window, but seems to go well with my L structure and the MTH cars. I made masters of 1, 2, 3, and four panel windows. By doing this, I save a lot of money (and aggravation in ordering) by not having to use commercial windows. Also, through experience, I've come up with a good size formula for floors and height that goes well with my L structure. 


Once the window layout was determined (two upper offices and a center window for the stairwell to the upper floor), the window openings and roof details were cut using the score and snap method. This is were working with styrene is very easy ... makes construction a snap, so to speak! Once snapped, the parts are glued back together with MEK. The windows act as guides for the cuts.


Once the window openings are cut, the whole assembly is laminated with brick sheeting. Then the window openings and roof details are cut from the back side. The brick is glued to the styrene using CA glue. MEK would be used but it dries too fast. It is used around the outside edges and the window openings to reinforce the lamination. The window openings are intentionally left "tight" ... filling is need to fit the windows.


Good news! The building fits the space! I've also left some room next to the station so I can add an exit Rotogate for the station. Note: no stone trim or lintels have been added at this point. I've learned to add these details AFTER the whole building is painted and mortar has been added. I explain this later, but trust me, its easier to do it this way. Note the gap between the second floor and the first floor: this will be covered by stone trim later. The joint is a butt joint that I reinforced on the back.

EVEN BETTER NEWS:


The view to the TV is no longer blocked! Plus, I get what I feel is a more realistic building. 

Urban Renewal ... Part 2

A couple of posts ago I mentioned my intention to replace my block of stores next to my Sheridan Road station.

I thought I would document my process for scratch building O scale buildings. Unfortunately, O scale buildings are in short supply, and therefore, they have a tendency to appear on multiple layouts.


Scratch building buildings is actually pretty easy. Below are a few photos documenting the process.


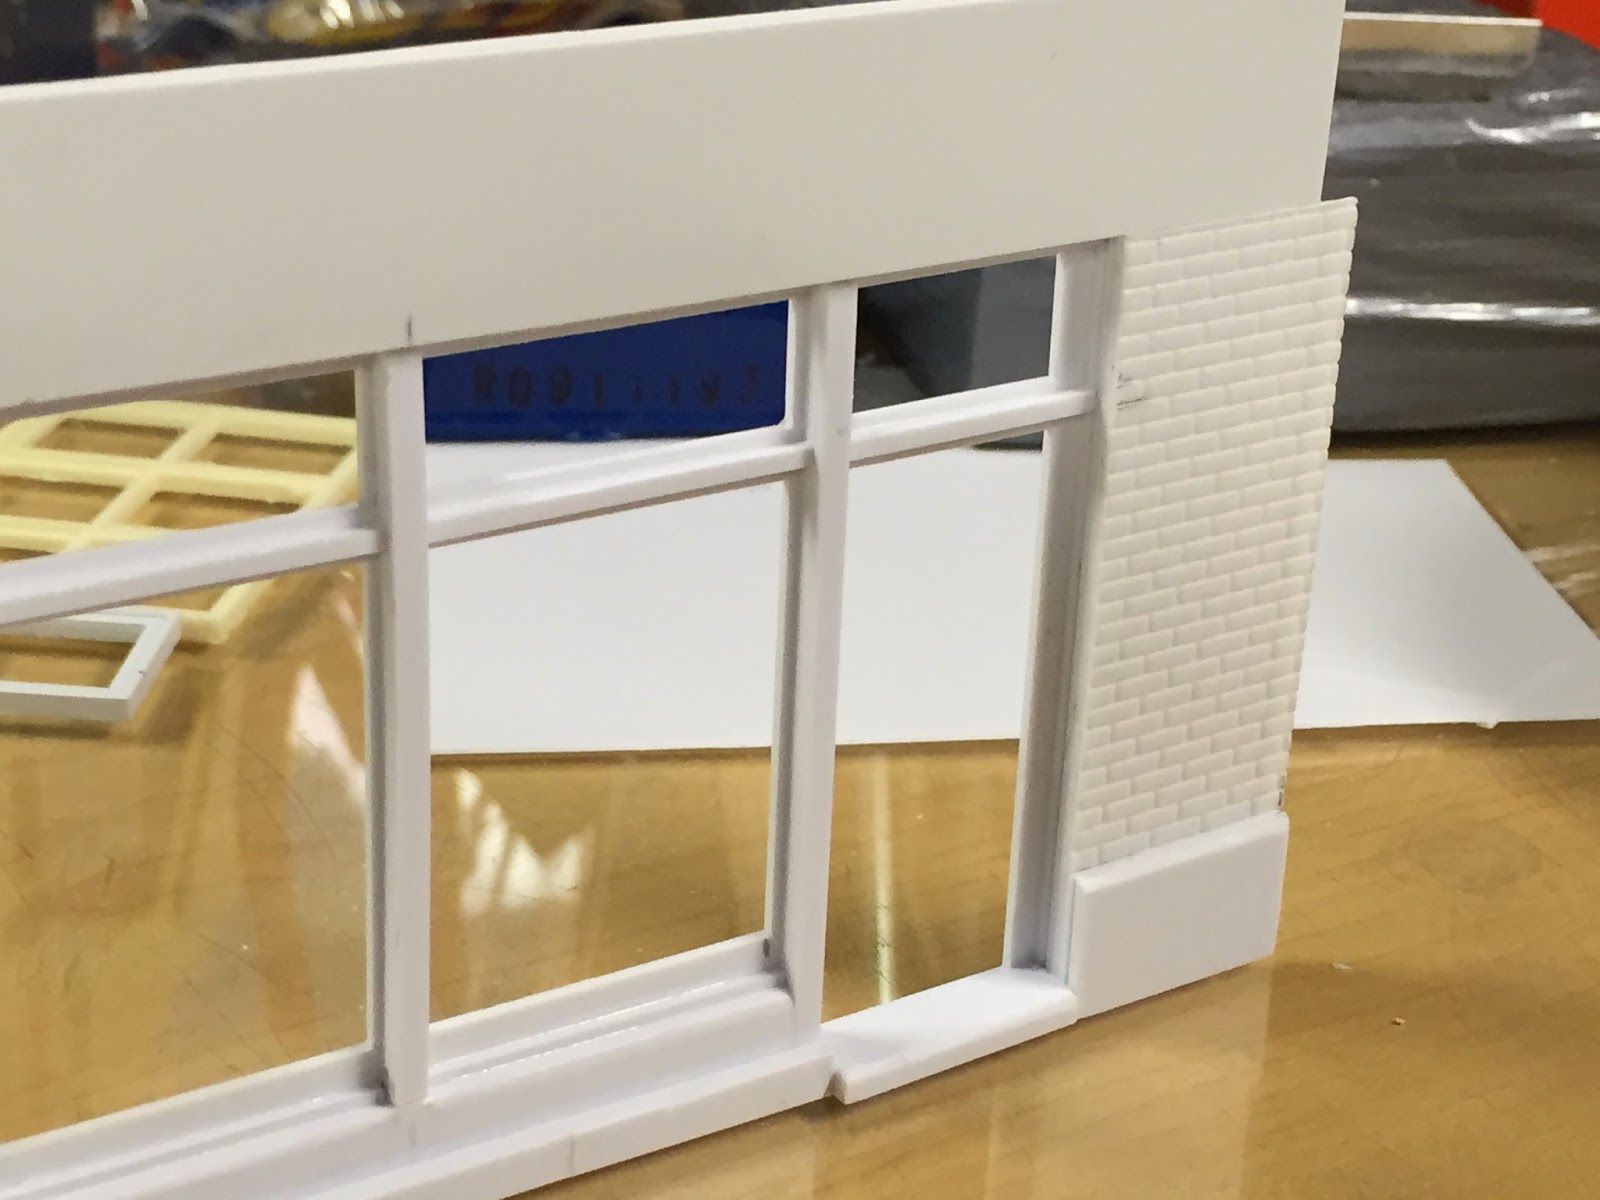
For this building, I've decided to build in a modular method. That is, to ease construction, I've decided to start the first floor store fronts first. This will have two stores and a center doorway that will lead to the second story. Do not forget to add access to the second floor of your buildings!


Materials are pretty basic:

  • N Scale Architect brick sheets. I highly recommend these. The quality is excellent
  • 0.040" Styrene sheet. With bracing, this is more than sturdy enough for the shell
  • Various sizes of strip styrene and scraps. I use about five different sizes of strips. 


I don't build to a plan, but rather to fill a space. In this case, I had about a length of 11.5" to fill. From that, I determined that two store fronts and a center entrance seemed to work the best. Just try to maintain some symmetry across the facade.


The store front is build up from the backside, stacking various strips and shapes to make windows and eventually doors. The brick sheeting is also stacked to create recessed brick rows.


Since this building will sit towards the front of the layout, I'm thinking ahead about possibly eventually detailing the interior. So, I made the center entrance deeper than I normally would so I can have some of the interior hallway. I will make the door separately so it will be easier to paint.


Friday, January 2, 2015

A New Year .... a new camera?

Sometimes its shocking how good technology has become ... evidenced by the below photos taken with my new Iphone.

These photos rival those taken with my DSLR ....


Next up, I'll have to try some video!

But, goes to show you how far we've advanced. And, always seem to have phone on me so maybe I'll take more pictures!