But ... success!

I can finally say that I have printed an O scale rapid transit car that can pass casual inspection.
This time, as mentioned previously, I split the car sides each into five sections: the two end doors, the center doors, and the right and left window sections. I had to do this so I could make the parts small enough that they could be printed in Shapeway's Frosted Ultra Detail.
Below shows what the parts (the doors and the window sections) look like when first taken out of the box (fresh from the factory, so to speak):

These parts came with a very heavy coat of wax. So, they were soaked in Bestine for a few minutes then rinsed with water. I cut them from the sprues before soaking.
Once dry, all the parts (six doors total and four window sections) were prime with Rustoleum grey auto primer.
Some close ups of the parts once primed. There has been no sanding of these parts.


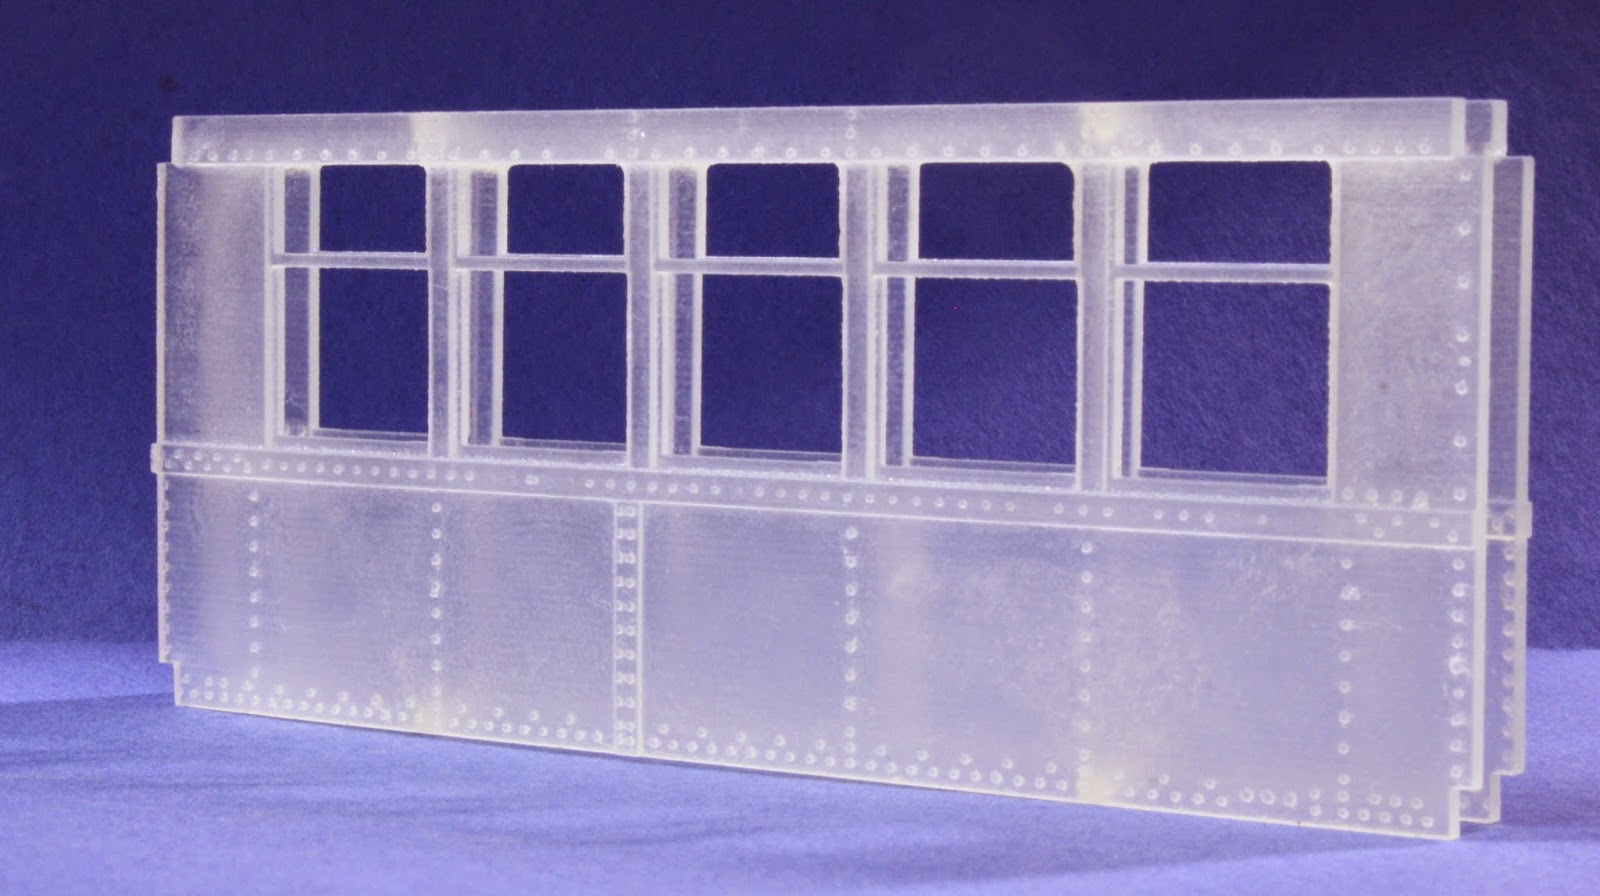
As shown above, the finish on the parts (roughness, lines from the printing process) is very good. Good enough that I haven't sanded. Also the fit of the parts (doors to window sections) is also very good. No sanding required. The sides look crooked as they don't lie absolutely flat. I had to "bump" the opposite side of the door recesses out a bit as the material got very thin and had a tendency to warp. But, I put the sides along a straight edge and they are straight.
Below shows the entire "kit" of parts: two ends, roof, six side doors and four window sections.
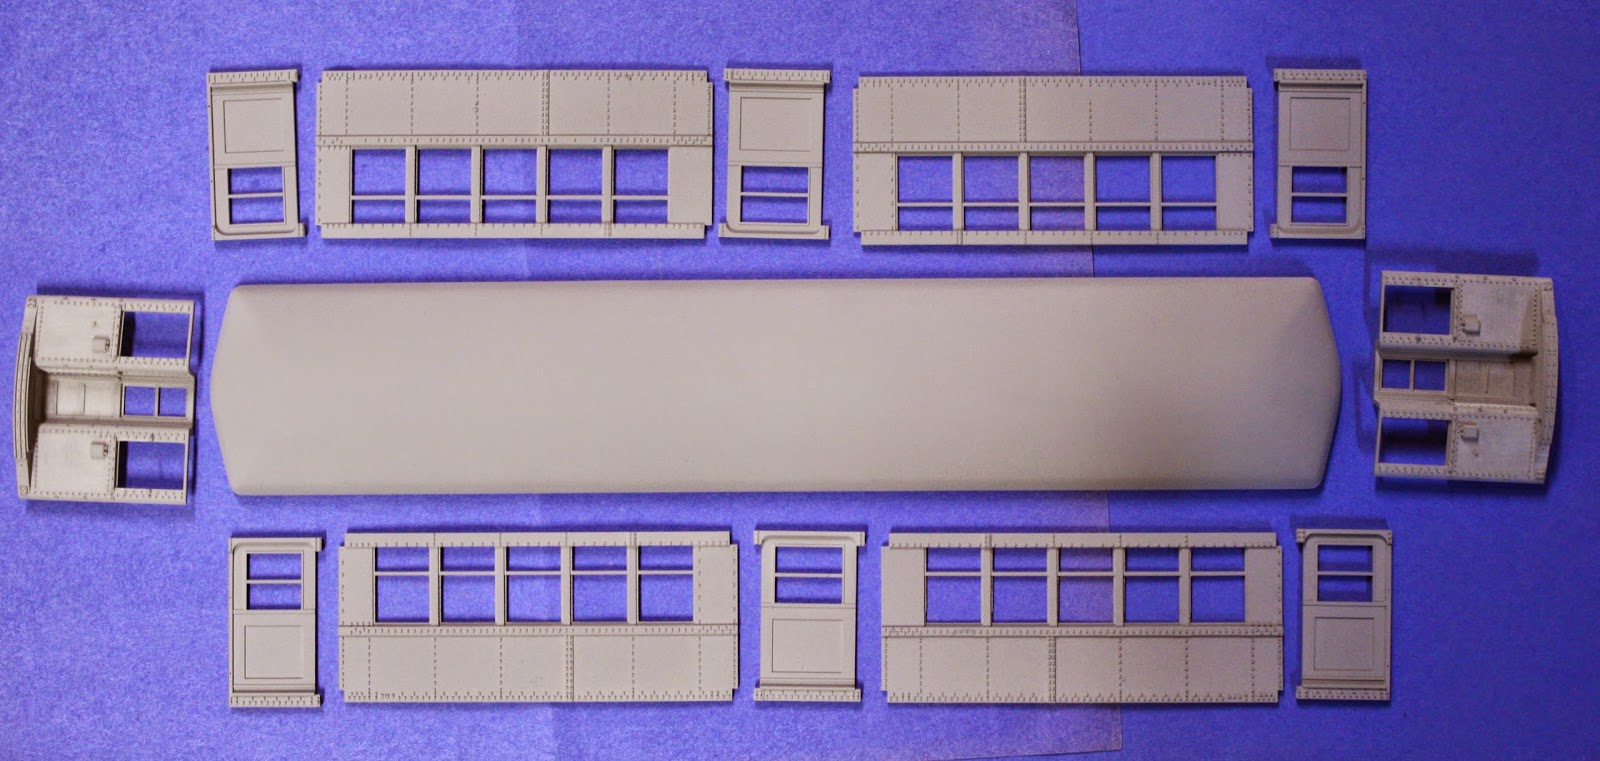
This is definitely a "shake the box" type of kit. Below shows the sides assembled. Again, no sanding to make the parts fit, its just a friction fit at this time:


Some observations:
The whole process has been way too expensive. Granted, some of this has been my own fault (destroyed masters due to casting mishaps, design errors) but the cost of 3D printing is still pretty high for a one off model. A fleet of same cars might be better served by making molds.
Rivets - I just don't get it. Superman has his Lex Luthor, Batman his Joker, my arch enemy will be rivets, especially 3D printed O scale rivets. Granted, on this model, being printed in Shapeway's Frosted Ultra Detail, the rivet detail (where it printed) is very good. I say where it printed as there are spots where either the rivets just didn't print or were knocked off during processing and shipping. They are very fragile. 98% of the rivets printed without issue. But, there are a few that are just missing. This isn't a deal breaker as I'm just happy the car turned out. But if I were making a commercial mold, I'd be miffed.
The roof - That single piece was the most expensive part. So, I will make a mold of that and use that to make copies. Now, you purists might note that there are no rivets around the edge of the roof. This material wouldn't allow those to be printed so those will have to be added via rivet decals.
Next up will be painting...stay tuned.


