After a day's soaking in 90% rubbing alcohol and a coat of primer, the first car waits for space in the paint shop at the Sheridan Road station.

The below car has just emerged from its alcohol bath is waiting for primer.

And the whole car that has been primed:
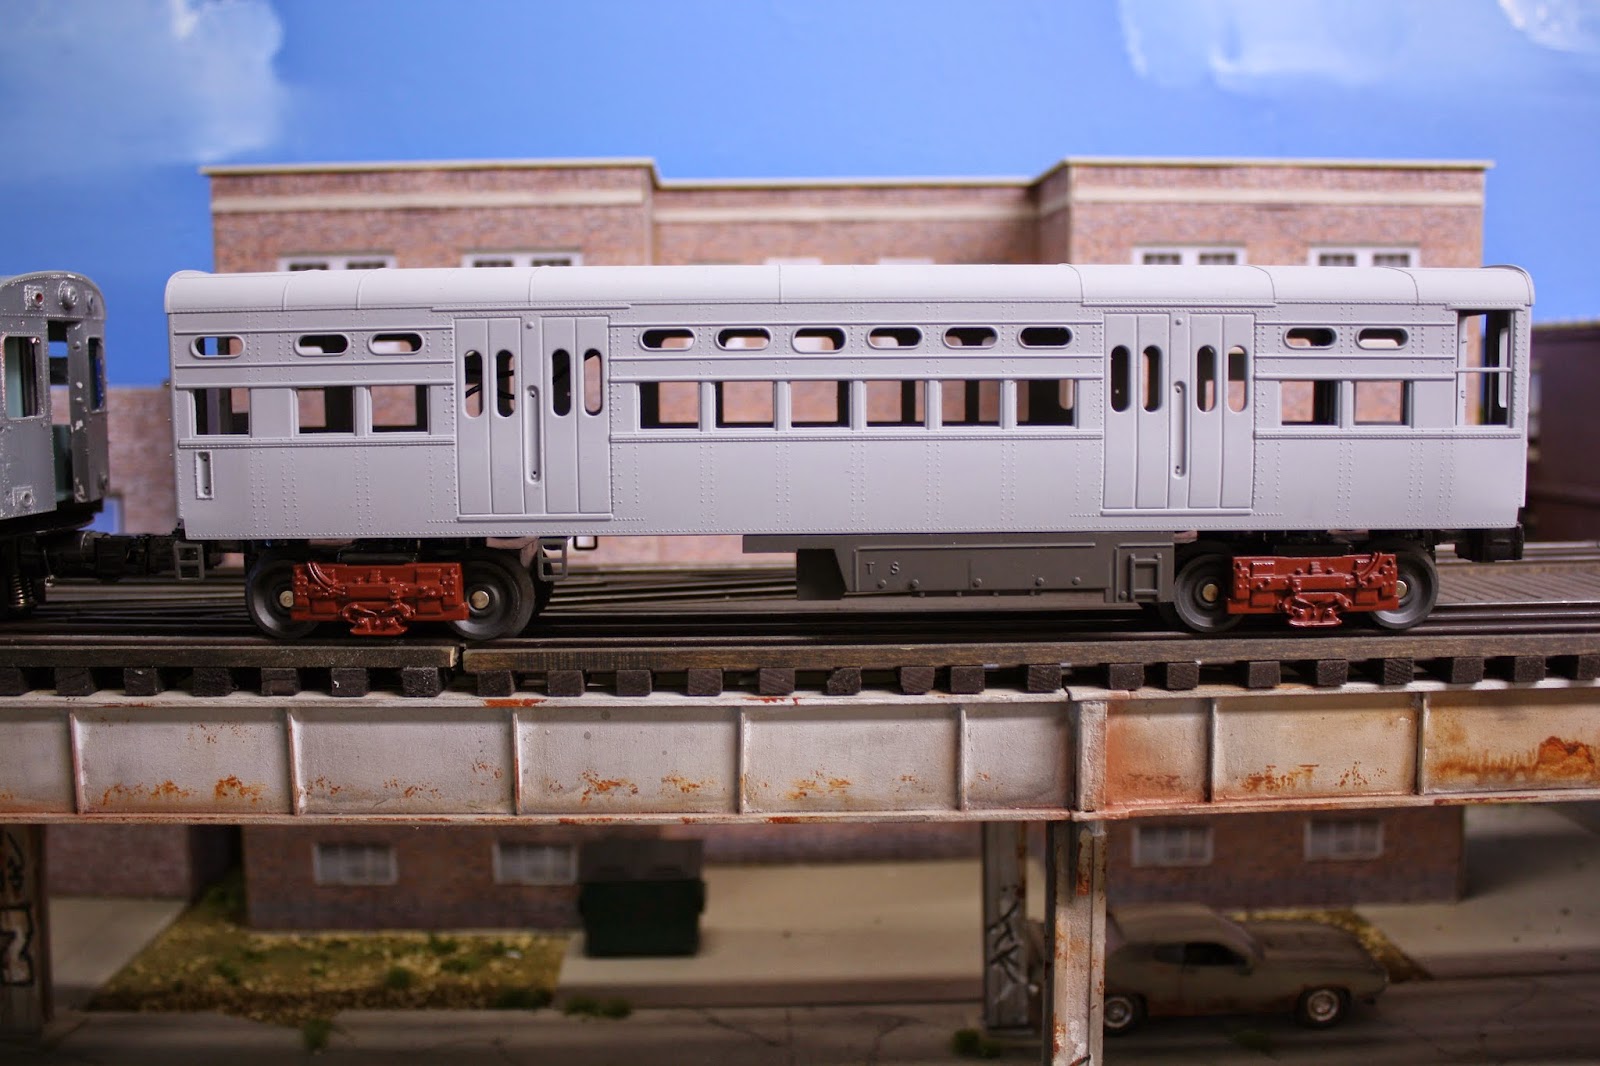
MTH actually did a very nice job on these cars. The details are good, its just a shame that they are slightly out of scale for 1:48, more like 1:45. Luckily, they were relatively easy to disassemble and the paint came off very easy.
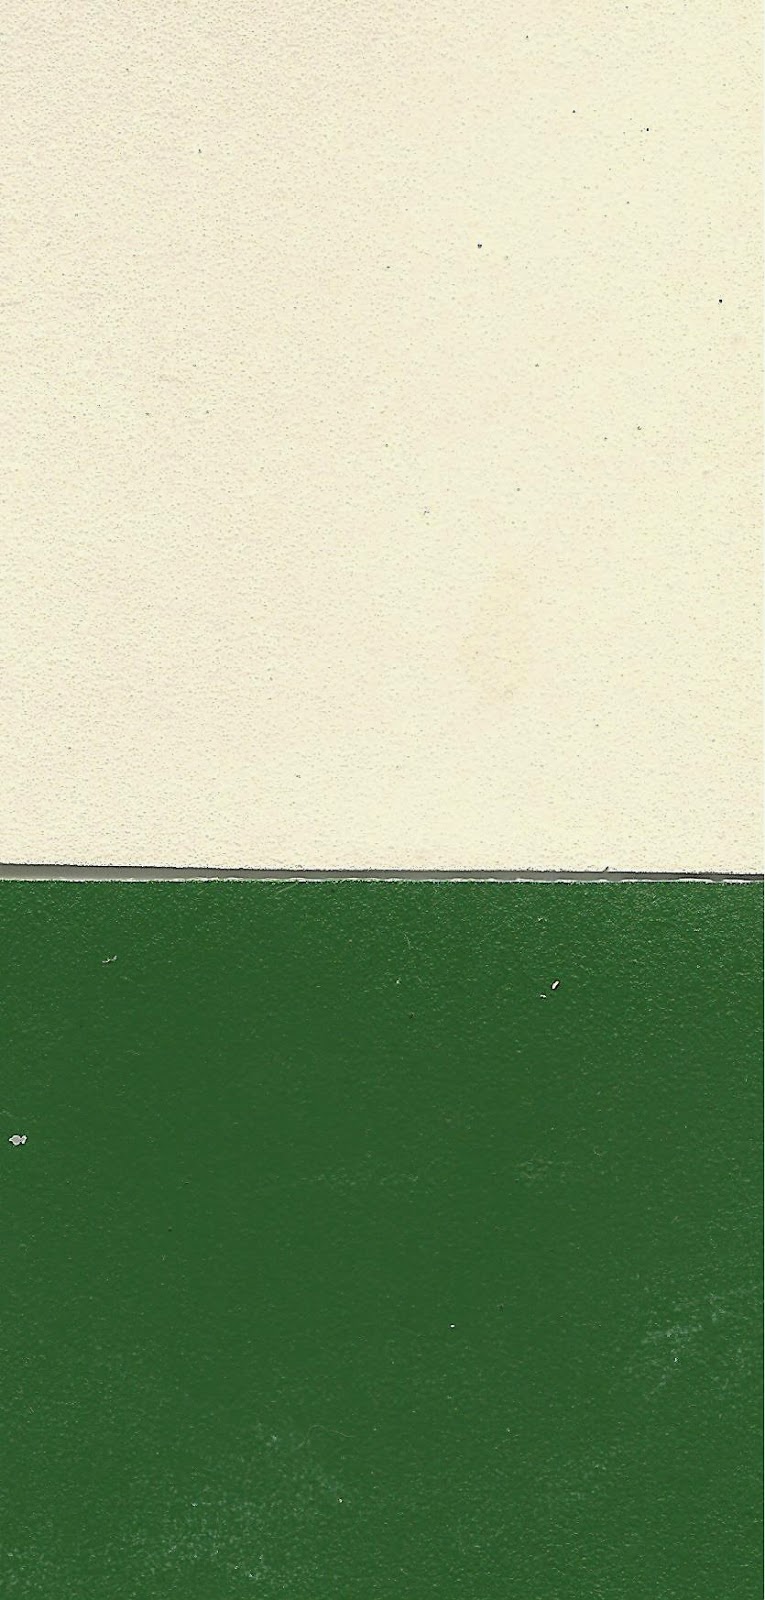
As for the Alpine White and Mint Green (and without custom mixing) the closest match I can find are Vallejo Model Color Ivory 70.918 and Tru-Color CP Rail Action Green TCP-32. For my poor eyes and layout lighting. I feel that the colors are "close enough".
Below is a paint sample I painted on styrene, with grey primer underneath. The white is more ivory in person. To me, again, its close enough.
As for 3D printing and the CTR 4000 baldies, I got my 2nd set of car sides (with end doors as separate pieces) back from Shapeways. These were printed on Y axis (that is, vertical) and using the material frosted detail. I am not happy as to how these sides turned out.
After priming and some light sanding:
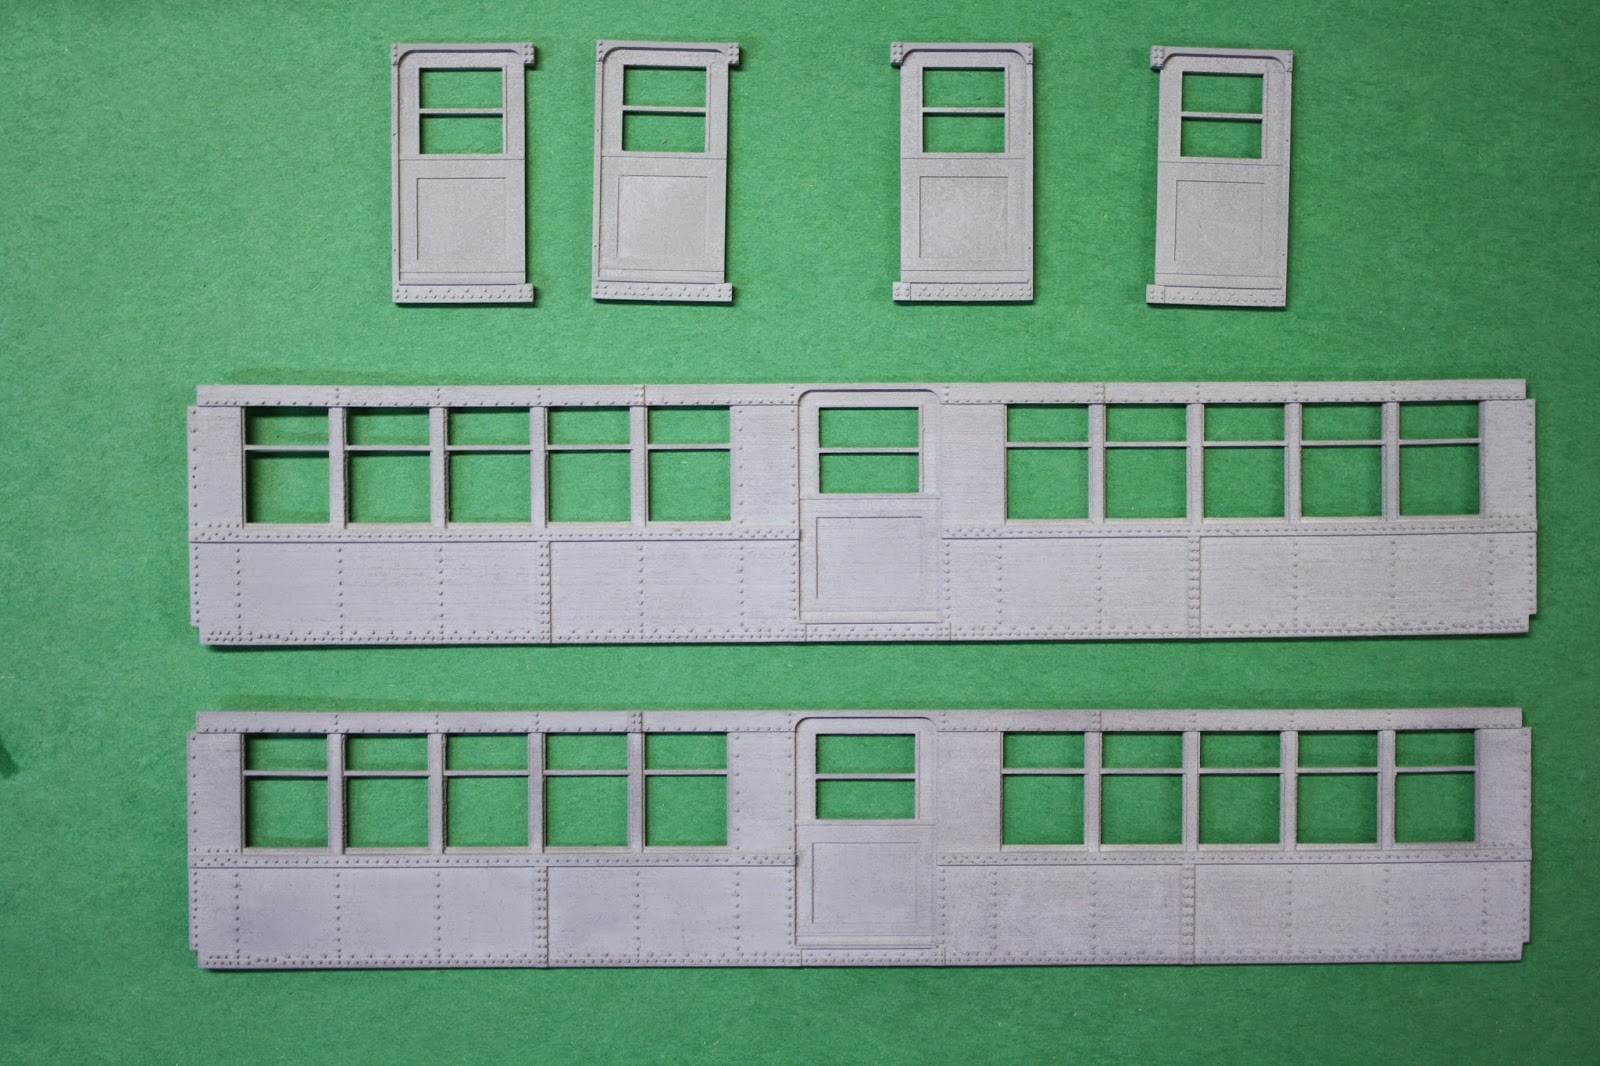

The fit of the end doors (printed in frosted ultra detail) to the sides (printed in frosted detail) is good, so no issues there. However, the resolution and quality where the rivets are printed just still isn't acceptable for an O scale model. From a casual viewing distance (3 feet), the parts look good. But, up close, the roughness in areas that have a lot of rivets is very apparent and distracting.
So, as one last measure to see if it is possible to create a 3D printed O scale model of acceptable quality, I've decided to split the side into five separate pieces (two end doors, middle door and 2 window sections). This way, all the pieces can be printed in the highest resolution material, frosted ultra detail. Splitting the side into smaller pieces will also help eliminate warping and errors I've encountered with larger parts. I've noticed that quality along the length of a part is inconsistent as I think the part shifts or cools and a different rate during the printing process.
So, the idea is to "sprue" parts together so that they will fit within the limitations of the frosted ultra detail and have the highest resolution possible.


Then, when received, just cut apart and assemble. Again, the fit of the parts is very good, so there should be minimal gaps.
Obviously having a side made of separate pieces isn't the idea, but the quality just isn't there for the side being printed in its entirety in frosted detail. Additional bracing will need to be done on the inside of the model, but this is the best compromise that I could come up with knowing the limitations of the material. In addition, I've heard that master model builders such as Bill Clouser used to make sides out of separate pieces, so if it was good enough for him, I'll give it a try.
Try using "Bestine" rubber cement thinner (available at art supply stores) to remove the waxy white coating from Shapeways FUD. Works like a charm.
ReplyDelete