Monday, May 28, 2012

Mis-adventures in casting

To have a Chicago themed layout, one needs apartment buildings, two flats and three flats. And with these buildings come lots of windows. Lots and lots of windows.


So, to "aid' in construction, I have started to attempt to cast my own windows. I made masters of various styles and made some molds.


Alas, I have lots and lots, and some more, of air bubbles in my castings. I've tried pouring slowing, shaking the table with an orbital sanders, pouring quickly, but to no avail. I still get voids, bubbles and pin holes. 


I know what the answer is: to use a pressure pot. I'm just just sure I want to make that big of an investment in the casting to get that. I'm going to ask some pros who have more experience than me and see what happens.


I've started constructing the basic Chicago two flat, with cast windows with lots of pin holes and air bubbles:


This is the front of a 2 story, 2 flat. It will be a three sided bay window with a recessed door on the right side.


Unfortunately BJ Traction's two flats are no more and DSL Shops' two flats are in S scale. So, scratchbuild it is.

Sunday, May 13, 2012

Special Fan Trip

Ed Halstead, master modeler and operator of the blog Modeling Insull's Empire in O Scale was kind enough to stop by the other day to view the layout.


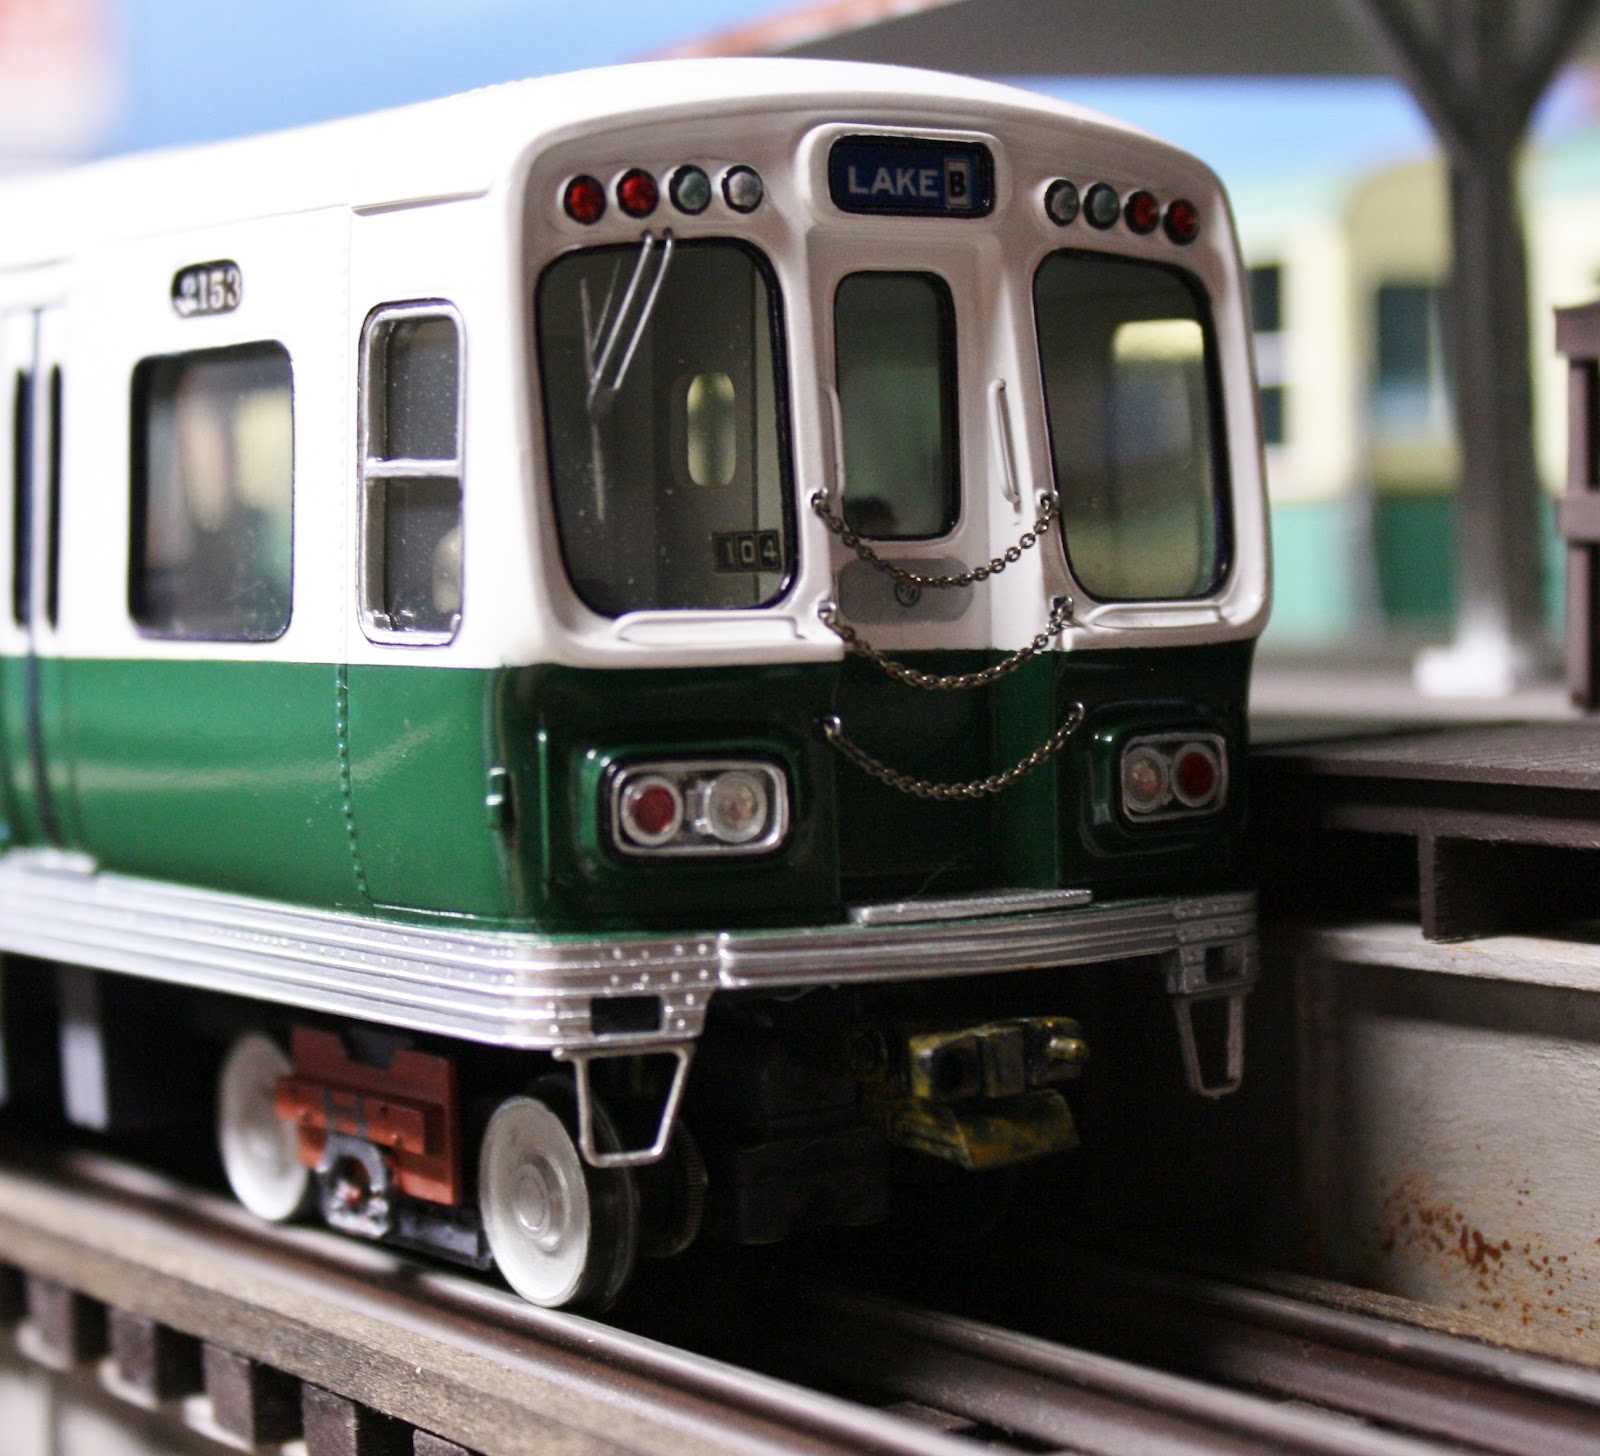
As a special surprise, Ed brought a couple of his beautiful 2 rail models. While we couldn't run them, many pictures were taken and the passengers at the station who normally await their hum drum 3200's were amazed by the historic CTA cars. A good time was had by all.


Monday, April 23, 2012

Layout Progress Video for April 21

No pictures, but a video of some "railfan" shots ...


There's still a lot of work to do on the station and the center catwalks. I've pretty much bought out all the basswood at my local hobby store, so now I am stuck waiting as I had to mail order more wood from Northeastern Scale Lumber. I should've bought stock in that company before I began as I have a lot invested in basswood lately...

Thursday, April 19, 2012

You learn something new every day

I was cleaning out/up the crawl space, getting rid of old boxes, magazines, just general junk when I came across the instruction manual to my DSLR, a lower end Canon Rebel Xsi. Well, good thing, since I can actually know now what most of those functions buttons do! It has a setting for automatic depth of field (never knew), so I tried a few shots.


I guess it does pay to read the @#$#@ manual.

Monday, April 16, 2012

Begining work on the new station platforms

I have started work on the new station's platforms. I was originally going to use Evergreen V grove sheet styrene, but I figured that would be "cheating". So, I started some experiments with individual boards. I am also experimenting with weathering the wood with inks, and so far I am liking the progress.


I also started the center catwalks, but those still need their final coat of paint.


Nothing is glued down yet, just testing the fit, clearance with the trains, and overall look. Once I finish the platforms I am going to see about having the railings laser cut.

Saturday, April 14, 2012

Cabrini Playlot

The Cabrini Playlot finally got some grass. Well, since the Park District is always short on cash, it isn't in the best of condition. The folks shooting some hoops don't seem to mind, and the passengers aboard the passing L trains can now enjoy a little greenery.


I still need to add a sign and some street lights, finish the other side of the alley, but I just try do something every couple of days.


If you notice, my layout seems to have a lot of different projects / areas of unfinished work. Well, I kind of did that on purpose. I try to build in a way that gives me an opportunity to work on different things if I want, when I want. That way, I don't get bored or burnt out. So, one day I can work on track, another day scenery and the next build a building. Keeps things fresh.

Sunday, April 8, 2012

Phase 1 Structure Complete!

All the structure and track work for the first phase of the layout is complete! I plan on building the complete layout in sections, and this first section, the L shaped 9 x 17 is done! The final section of structure is painted (but, alas, not weathered) and the removable return loop is done. The initial wiring is done and a train can now run "out and back".


A view towards the return loop, through the wall

The removable return loop. It sits in the entrance of the crawl space.
In addition to completing the track work, I did a little scenery around the auto repair shop. I'm using a new dirt ground cover called "Diorama Dirt" by Monster Model Works. I do like the natural color and the fact that it doesn't darken when you glue it. I need to add a little more grass to "green" things up.


Note that I FINALLY got a coat of brick covered paint on the factory on the left. Its been in unpainted white styrene for almost a year.


Some more views:


A couple of views down the tracks:


And finally, since the track structure is done, a photo tour of the layout. This view is looking at the layout as you walk into the room, looking from right to leftt.
Sheridan Road station and street

Factory curve


Residential area and cross street

Park and Cabrini Green

New station and cross street

Short straight into return loop.
Not the biggest layout, but when you build all elevated, it takes a lot longer and a smaller layout can actually be finished.


Next steps are to start on the new station and install the wooden center catwalks on the track.