Monday, October 29, 2012

New curve, new video and podcasts

The new Sheridan / fuse panel curve has been added:


But, there is a problem. When I originally built the Sheridan Road station, I didn't give a lot of thought to the eventual expansion beyond the station. So, I built the platform right up to the end of the structure. Now, there is some interference with the swing of the trains as they round the curve, as shown below:


I haven't tested the other track, but I'm sure it'll have the same issue. I tried to "push" the curve as far out as I could, but the above picture shows the least amount of interference that I was able to achieve.

So, I will probably have to shorten the Sheridan Road platform, as shown below:


The reason why I will shorten this much is that I do have cross beam at the left side of the red box. That way, the end of the station platform girders rest on a cross girder rather than float in mid-air. A poorly photo-shopped after view would look like:


I'm not sure how I like the looks of this, but its probably the best solution I can come up with. I can't move the curve any more since the fuse panel is in the way. Shortening the platform by this  much is overkill, but I really don't have too many other options.

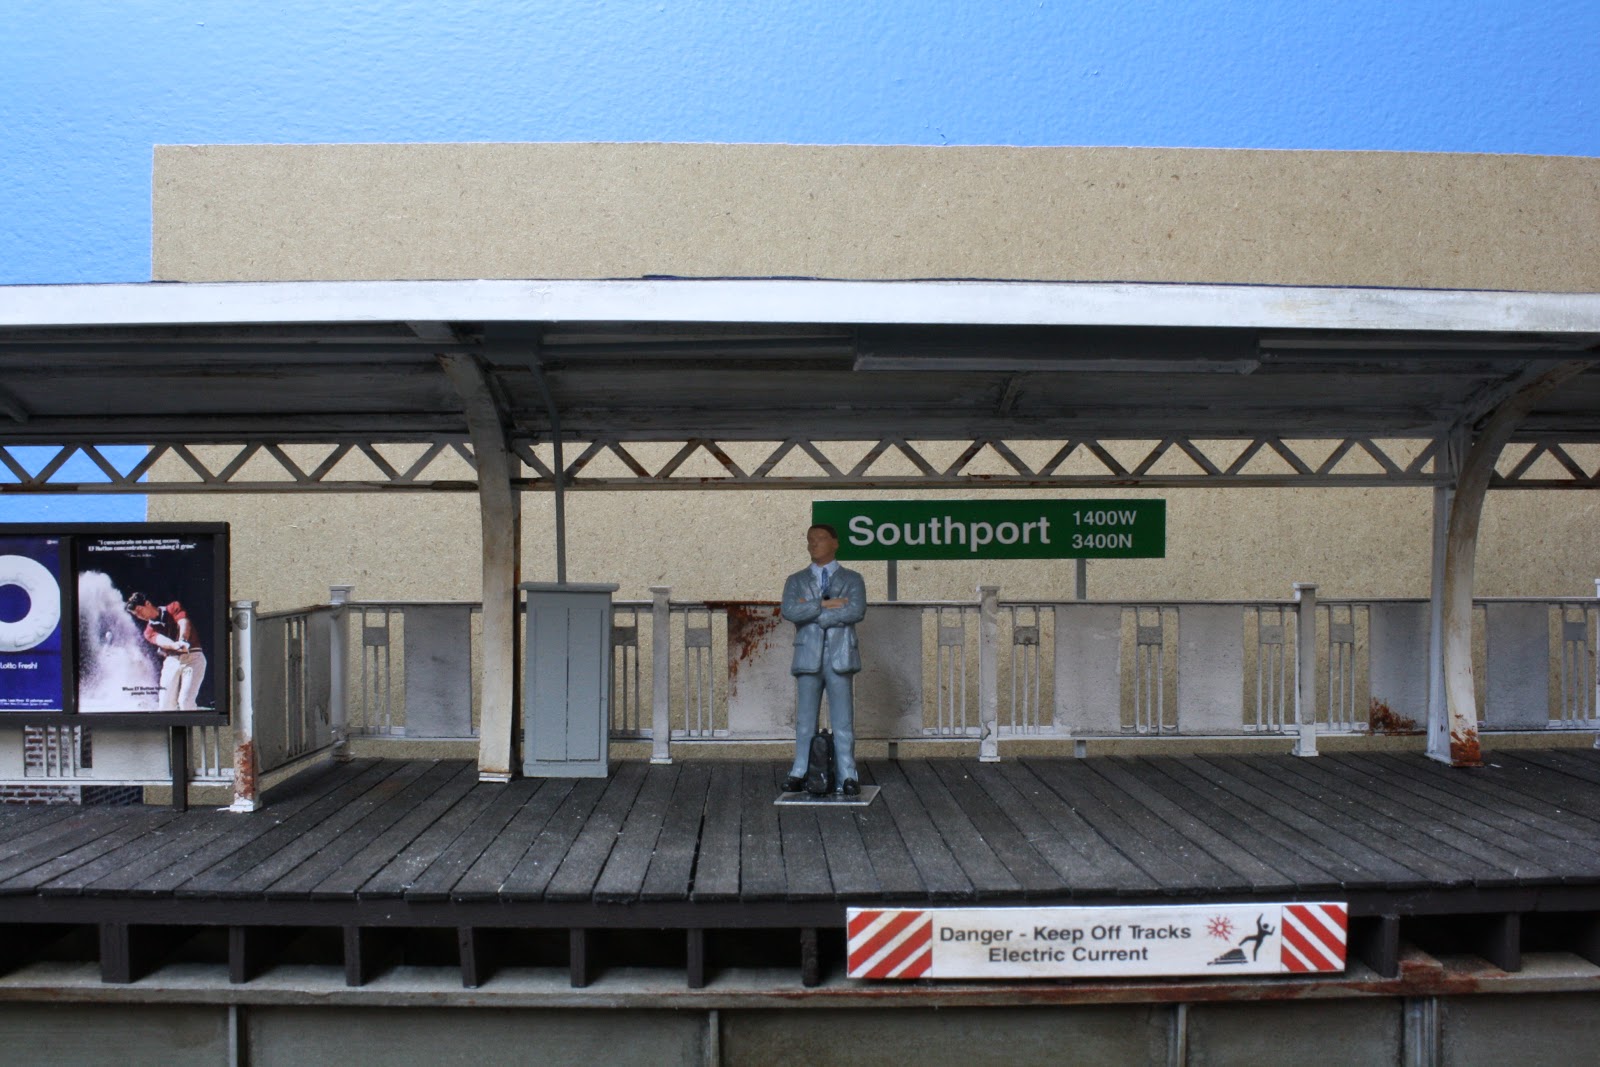
I have also uploaded a new video to Youtube, showing the new Southport Station and some of the finished residential area;


In addition, I recently appeared on the October 1, 2012 edition of the Model Railway Show podcast to talk about the layout. It was a lot of fun being interviewed for the show. The link to the podcast's web page is:


And the episode that I appear on is the October 1 show: October show notes

Have a listen if you find the time. Trevor and Jim do a really good job on creating a high quality podcast.

Saturday, October 13, 2012

Progress on the Southport Station

One platform is mostly done. I still need to build the stairs (will be laser cut) and add a few more details. But for now, it'll do.


The "Midway" roll sign on the 3200 is a result of a Brown Line / Midway through routing due to Loop elevated track work.

Sunday, October 7, 2012

Laser like precision

I just got back my laser cut railings and station canopy supports from Monster Model Works. The parts came out really nice and made making one side of the station real easy. I'll start with the final product:


I am attempting to model a generic Ravenswood style of station. Right now all I have done is the railings and the canopy.

I have to say it was a pleasure working with Jimmy Simmons of Monster Model Works, the link to the website is Monster Model Works . I made drawings of the railing and canopy in Corel Draw 4 and Jimmy was able to cut the railings out of .020" laser board and the canopy supports out of 1/8" acrylic. I am looking forward to working with Jimmy again as it really was a pleasure working with him and the quality of the laser cutting was phenomenal.

The canopy supports (four for each side):


And the railings (all on one sheet):


And cut out:


I then add .080" Evergreen L angles to the top and bottom, and make the posts out of .100" square Evergreen styrene.

The below shows the before paint view:


Making the railing sections this way REALLY made construction easy! To complete the one platform took about 6 total hours, which for me is pretty quick.

Below are some more views of the station. I still need to add the stairways to the station house, which accounts for the large holes in the platform. I also need to add signs, advertisements and lights. That will "color" things up as right now there is a lot of white going on (and yes, its rather dirty and some rust is evident ... this is supposed to be pre-Brown line renovation) ...


I did a basic "tar paper" roof on the canopy (painters tape painted flat black.

Also, recently there was an accident on the Red Line where a train had an interesting splitting of a switch/tracks. I re-created the incident on the layout for accident investigation purposes ...


Luckily there were no injuries reported.