Tuesday, April 5, 2022

 Post Pandemic Progress - Or has it been FOUR YEARS?

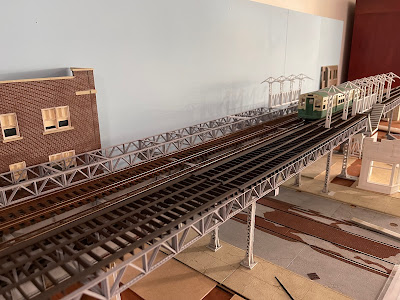
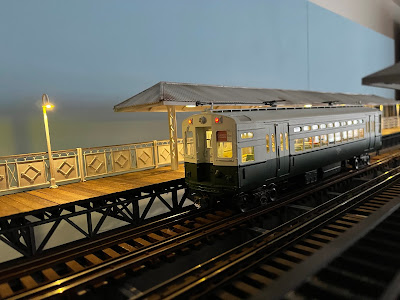
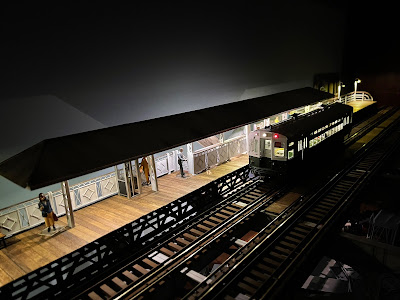
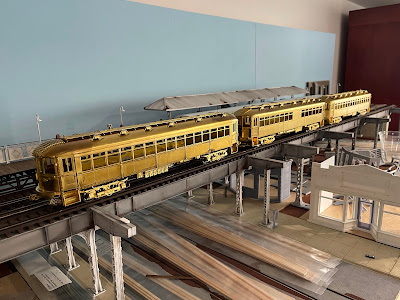
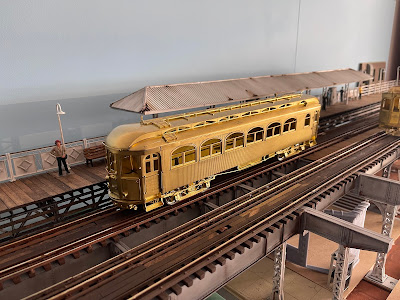
Yikes ... time does slip by, doesn't it? Anyhow, another new layout has been started, this time based off of the Metropolitan West Side Douglas Park elevated.

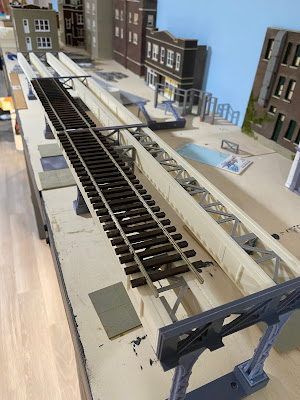
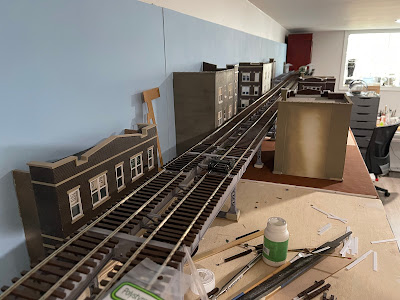
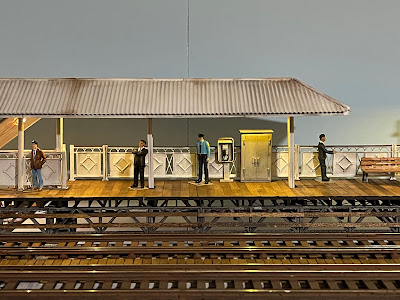
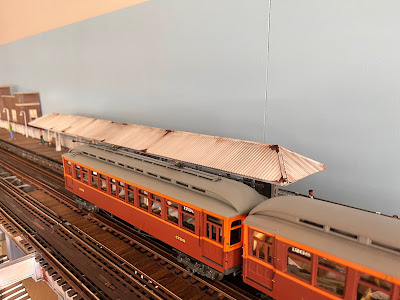
But, let's cut to the chase with pictures. This is 2 rail O scale and a combination of 3D printed parts are cast resin parts made from molds.

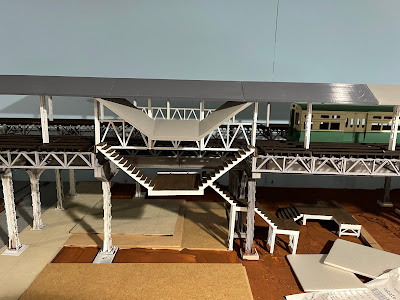
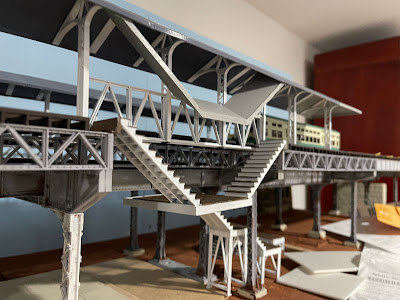
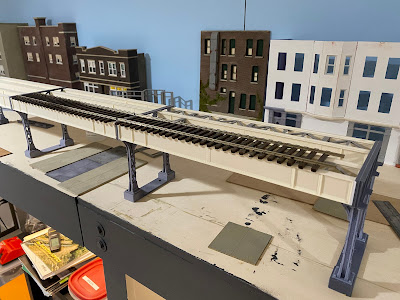
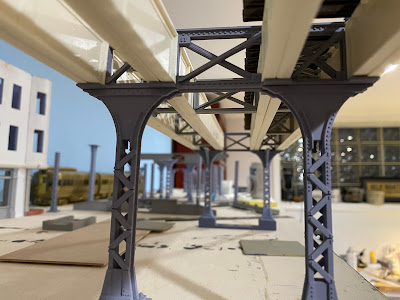
General build process: Girders are cast resin, all else 3D printed.


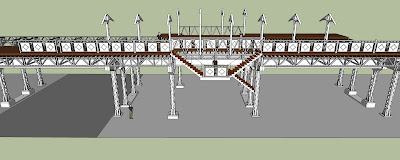
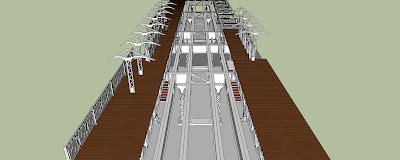
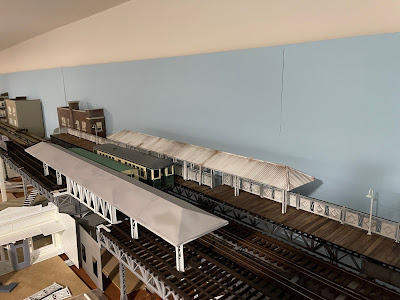
These above photos are the general build process. With these basic components, the overall structure is created. I've also created a model of a generic Met station ... loosely based on the Kedzie Ave. stop.


And, from these plans, about 15 feet of structure is completed.


Everything is still under a lot of construction. 

Also - all is currently Dead Rail via battery powered Bluerail bluetooth control boards.


Thursday, August 30, 2018

Its been awhile ... but now a dedicated layout room!

Apologies for the length between posts, but, as often happens in life, things change. Since my last post, I've moved from Chicago's West Loop to a more layout friendly space in Chicago's Bridgeport neighborhood. As a bonus, I now have a dedicated layout room. While small for your typical bedroom, and certainly not a basement empire, it will suit my needs for now. It goes to show that small spaces (8 x 12 in this case) shouldn't impede a layout.

So far, I have arranged my two modules into an L shape via a recently constructed corner module. I am sticking with a modular set up for ease of portability.


At least now I have a dedicated space to work and make a mess! I haven't decided if I'll try to complete the "around the room" layout yet, but I am greatly tempted. 

Now that I'm settled, I hope to be able to post more soon.

Sunday, January 28, 2018

Continued Brick Paving, Part 2

I've finally finished laying the plastic brick sheets. Once laid, I sprayed all with Rustoleum Red Primer, my typical go to for a brick color. I then use pieces of styrene to simulate concrete paving and paint those Rustoleum Gray Primer.


Once all was done, I used filler tinted with grey paint to add mortar to the bricks. Once dry, I used various washes to darken the bricks and act as weathering.


Next up will be making sidewalks which will be built up from styrene.

Sunday, December 10, 2017

Continued track work and brick paving

Yikes ... almost six months since my last post. Time flies and all that ...

Anyway, I've been slowly working on my two straight modules that are a good fit for downtown condo living.

First up ... the eventual 90 degree street intersection track work has been completed.


The turnouts are functional, so with a little creative trimming, I could always expand to the left if I so chose to fit in another module. For now, it will just be a scenic detail.

As discussed in prior posts, I am using plastic brick sheeting to pave my streets to keep weight down and mess to a minimum (again with the downtown condo living theme). Therefore, to bring the street up to rail level, I'm laying 3/8" foam core board down. To bring the track into level with the foam core, the track is laid on 0.040" styrene.


Next, 1/16" basswood is laid in the center of the tracks:


On top of the basswood, 0.010" styrene is then laid down:


And finally, JTT Enterprises O Scale Brick sheeting is laid on top of that:


While not perfect for curves (I have yet to solve that problem, I suspect some careful cutting and bending will be used), it is an effective way to pave brick streets with minimal mess. Also, the weight is very light, keeping in mind the portability required for modules.

Additional sections of sheeting are then combined via carefully cutting the brick patterns.

In the below photo, the seams are more visible than they are in person. These sections were not glued down so the seams stand a little proud. In addition, I will be painting and adding additional mortar to assist in camouflaging the seams.


The remaining street surface will be paved with 0.020" styrene sheet to simulate either concrete or asphalt.
Friday, June 2, 2017

Track Work Construction

As mentioned in my prior blog post, I am working on a curved crossing. While work has stalled due to other track being worked on, I did make some additional progress. 


To create the crossing, I use PC board sheets to lay out the actual track crossings. It makes soldering a little easier.

As for the modules, work on the cross overs on each module have been completed.


Each turnout was built separately then combined after some careful trimming. Next time I have to build a cross over I may build it as one unit. However, as this was my first attempt at track laying, I'm happy with the results. The frog size is a  # 3, which is larger than the prototype, but I had the room and wanted to ensure smooth operation.
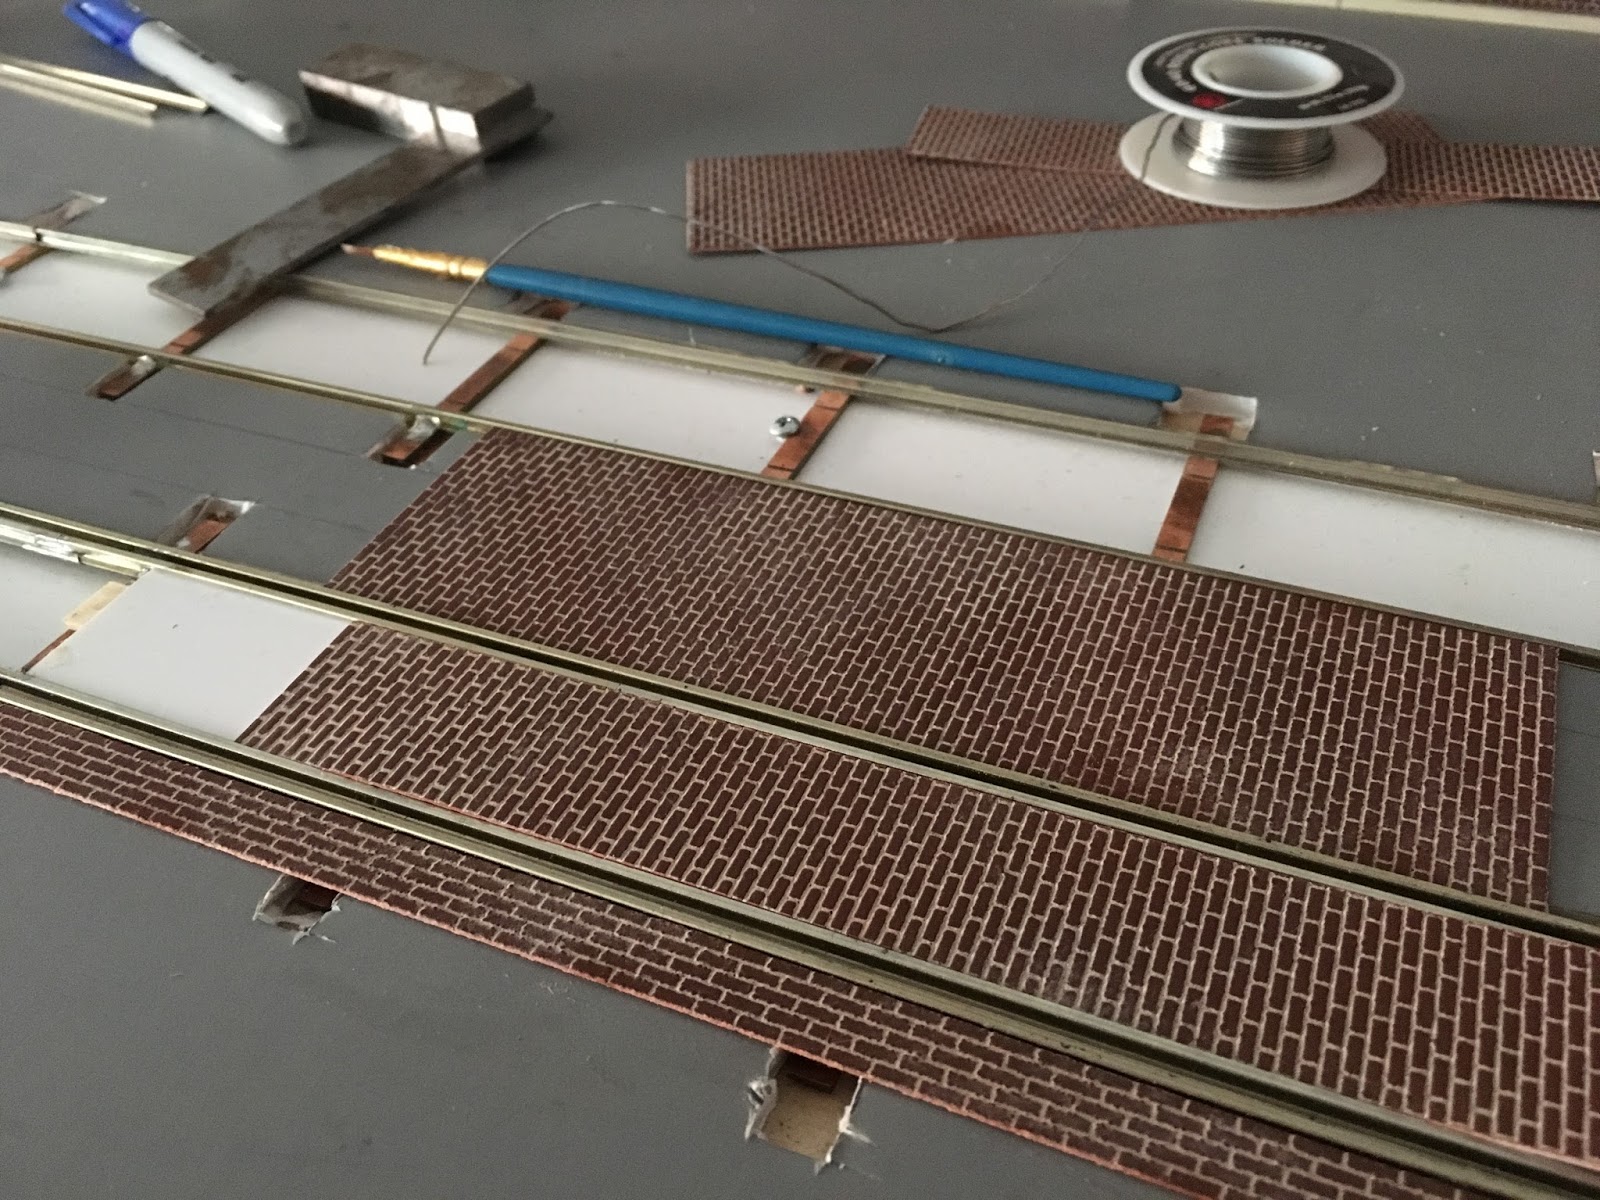
As these modules need to be portable, in order to "pave" the streets and bury the track work, I've decided to use 3/16" foam core as a base. The track was raised slightly with 0.040" styrene so that the rail head would be slightly raised above the soon to be added street paving.


An advantage of using foam core is its light weight. As these modules are destined to be moved, I wanted to keep the weight as low as possible.I don't "bury" the track in the foam core, but rather cut reliefs for the ties. I can still remove the track if needed for maintenance or adjustments.

Using the foam core as a base, I am paving my streets using brick sheeting.


This small section is being used as a test to make sure that this particular process would indeed work. So far I am satisfied with the results.


If this was "production" and not a test, I would add further mortar (actually drywall joint compound tinted with paint) to the seams between the brick sheets.

On the other module, I've decided to add a "scenic" element of a cross street and some potential future expansion.


These turnouts are somewhat sharper at a # 2.1 which match the 12" curves on the diverging route. The same method of using PC board sheet to solder the actual crossing rails was also used. Also shown is the other cross over that is at the end of this module.

Here are some overall views of both modules: