Winter months do allow for additional modeling time ... so, I've been trying to make as much progress as I can.
Updates since my last post:
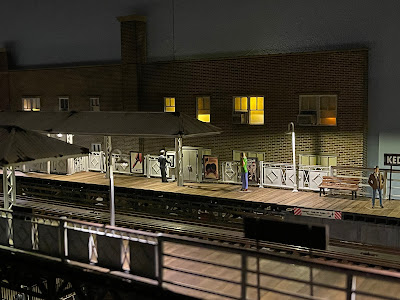
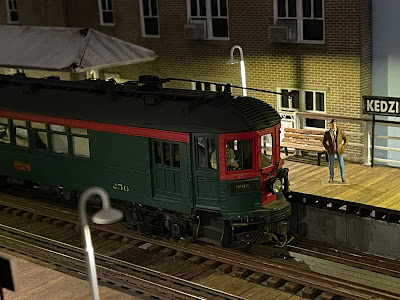
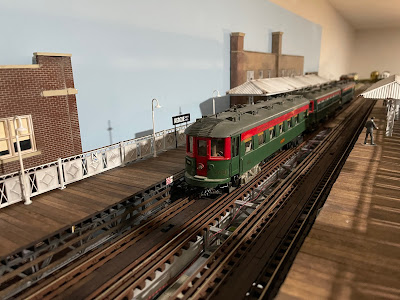
The work around my Kedize station continues. I've finished the background building that acts as a background to the station to a point where I've added lights and other minor details. It acts as good photo background for the station. I've also started construction on a foreground building that will most likely be a bakery.
I've also added some additional street lighting to the Kedzie street scene. Another new foreground building is being constructed. A tenant has yet to be obtained, but I'm thinking it might be a reincarnated version of my Elevated Records shop that was on my prior layout.
Also, for the anniversary of the end of service of the North Shore on January 20, 1963, a special charter was arranged for enthusiastic North Short railfans and many pictures were had by all.
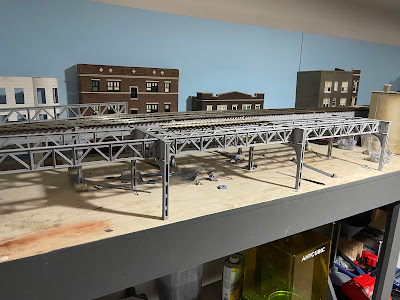
In addition to normal modeling work, I've been attempting to perfect a 3D printed design and application of Chicago Loop L Structure. I'm attempting to make a standardized set of files that can be printed easy and assembled with minimal effort.
The follow is the second version and so far I'm happy with the end result. The structure is printed on two printers: an FDM Bambu Labs P1P in PLA and on an Anycubic Mono X resin printer.
Still in a state of assembly (no glue is used on the below photos - the fit has enough friction to hold it together sufficiently):
Details:
In the above, I still need to add the foundations and some additional bracing.
List of materials:
- FDM Printed on P1P:
- Girders
- Cross girders / bents
- Internal X-Bracing
- Internal zig-zag bracing
- Foundations (not shown)
- Anycubic Resin:
- Columns
- Curved Bracing
- Girder bracing from cross girders / bents (not shown)
The columns are design to fit onto pegs on the foundation pieces. This "locks" the structure to the benchwork without having to actually attach the structure via mechanical means.
I prefer to use FDM when I can. The post-processing of the resin prints (cleaning and curing) and associated smells of the resin is quite annoying. The quality of the P1P is sufficient for the girders, but I'll probably continue to use the resin printer for columns and bracing details.
As to how this is printed - at least for the FDM parts all are printed flat to the build plate then sandwiched together:
The girders that are on the "inside" of a track's girders are modified in such a manner as to allow for the fitment of the X-bracing and zig-zag bracing. The foundations are one piece which maintains proper spacing between the columns. Each piece also has appropriate rivet details.
The columns, printed via resin, are printed upside down with applicable supports:
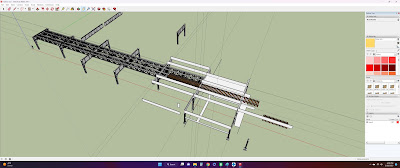
Below is a screenshot of my work flow in designing the overall structure and eventual station. I build off of previous work and create appropriate structural components as I go along. This is drawn in real size / to scale. When I'm ready to print, I'll split the model into sections that will fit on the printer and then scale the parts down to 1/48 scale, export to STL, and the send to the appropriate printer.
There is a significant amount of trial and error as I attempt to get components to fit together, with detail, and while keeping in mind printing limitations and eventual assembly. The goal is to create parts that will print successfully, require minimal to no supports/post processing, and ease of assembly.
The plan is to use this as a Loop elevated extension to the layout. I'm in the process of designing a station but that is most likely a late Q2 project.

