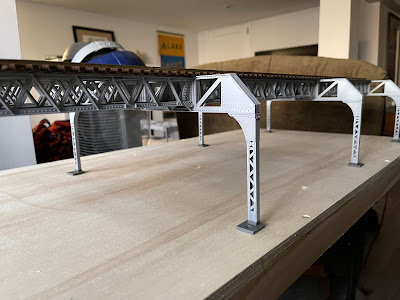
For the month of March I spent significant time working on various plans and assembly methods for my 3D printed L structure.
Some updates:
Chicago Loop Elevated Project
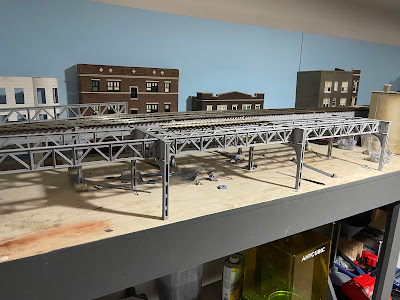
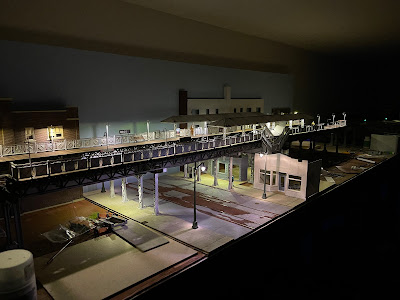
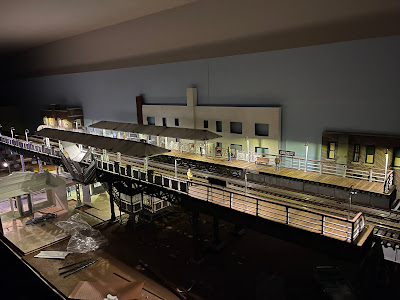
My structure again is based off of the Wells Street leg, but with minor modifications it could pass for Wabash Avenue if needed.
I've assembled three feet and built a small display module that I may either turn into a stand alone diorama or incorporate into the larger layout.
Currently, the structure is only painted in grey primer (Rustoleum automotive grey) and held temporarily together with low tack glue on the bracing.
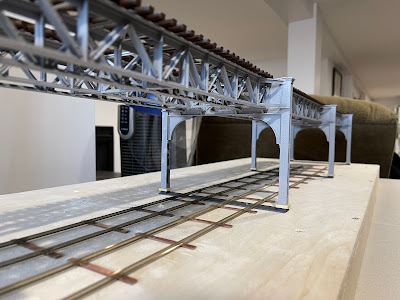
Clearance under the L is set to a little more than 16 feet. With the foundations, its about 17 feet from top of streetcar rail to bottom of cross girder. That "might" be a bit low, but I couldn't find definitive answers on how really HIGH the structure is. On-site measurements could've attracted unwanted attention from local law enforcement so this was the best I came up with.
However - it is easy to add height to the columns so if I did wish for it to be higher it is a minor modification.
Generic New York City / Brooklyn structure, side project
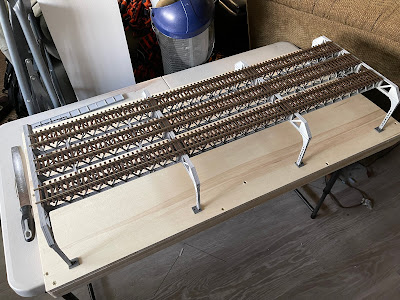
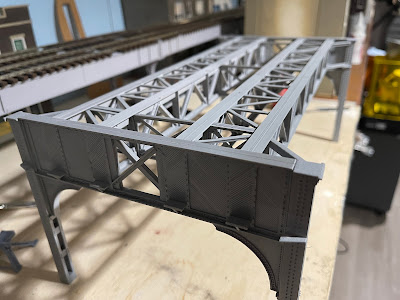
On a whim - I decided to see what it would take to built a three track structure like those found in Queens, the Bronx or Brooklyn.
Below are the results:


In this structure I tried to see how close of a tolerance in fitting the pieces I could do on my printer. This should've been a 100% friction fit - minimal glue needed. However, I think my printer is over extruding ever so slightly just to make parts not quite fit. Some additional filing is needed to make everything go together. But, it was a good test to determine the interconnectivity between parts.
No worries though - I have no plans on switching to NY subway modeling.
East 63rd Street Structure, NEW project
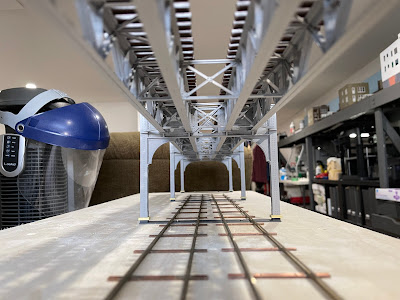
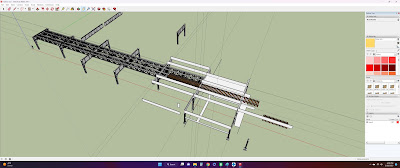
Taking what I learned from the NYC structure and Loop L, I've started designing Chicago 63rd Street lattice elevated.

The 63rd street bents have an odd style where there are "multiple" parts within the bents. I've tried duplicating this using a spacer to give the illusion of the parts. I've also tried to model the period before additional strengthening was added to the structure. I could've tried to make the lattice girders less "bulky", but I was worried about strength. It seems the prototype wasn't quite built to robust standards so making a exact copy of the prototype seemed unwise.
So far I have one foot of structure printed. I'll be doing a three foot section similar to the Chicago Loop structure.
St. Petersburgh 6000's
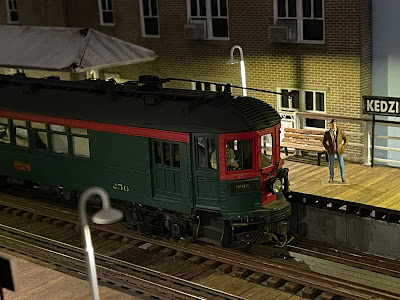
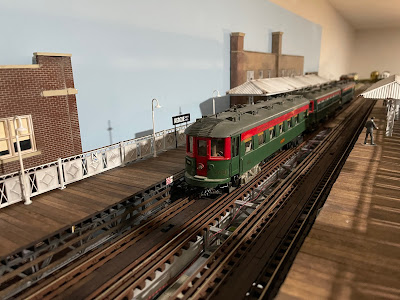
I acquired a set of 6000's at the Chicago March O scale meet that have led a tough life. While these were powered via a Q-Car truck, the power car had been crunched at one point. The floor was broken and there was some damage to the B end. I figured that since these are somewhat rare I'd take the chance and attempt to repair.
So far I've reprinted (via the 3D printer) a new floor for the power car. I need to shim the power truck but it does fit nicely. I've since done some touch up paint work but I don't have that documented. I've saved the underbody details from the original broken floor and will be re-attaching those. This will eventually be converted to wireless Bluetooth battery powered as is being done with the rest of my cars.
BTW - Tamiya red paint is an exact match for the paint St. Petersburgh used.
The below photo is BEFORE I touched up the paint ... hence the paint mismatch on the B end of the left hand car.
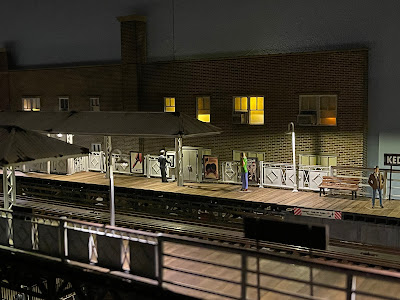
Even with all of the above ... I can't keep neglecting the layout. I did manage to begin painting and final detailing of one of my foreground structures.
I'll eventually be adding an interior, with lighting, to this building.
