Sunday, October 7, 2012

Laser like precision

I just got back my laser cut railings and station canopy supports from Monster Model Works. The parts came out really nice and made making one side of the station real easy. I'll start with the final product:


I am attempting to model a generic Ravenswood style of station. Right now all I have done is the railings and the canopy.

I have to say it was a pleasure working with Jimmy Simmons of Monster Model Works, the link to the website is Monster Model Works . I made drawings of the railing and canopy in Corel Draw 4 and Jimmy was able to cut the railings out of .020" laser board and the canopy supports out of 1/8" acrylic. I am looking forward to working with Jimmy again as it really was a pleasure working with him and the quality of the laser cutting was phenomenal.

The canopy supports (four for each side):


And the railings (all on one sheet):


And cut out:


I then add .080" Evergreen L angles to the top and bottom, and make the posts out of .100" square Evergreen styrene.

The below shows the before paint view:


Making the railing sections this way REALLY made construction easy! To complete the one platform took about 6 total hours, which for me is pretty quick.

Below are some more views of the station. I still need to add the stairways to the station house, which accounts for the large holes in the platform. I also need to add signs, advertisements and lights. That will "color" things up as right now there is a lot of white going on (and yes, its rather dirty and some rust is evident ... this is supposed to be pre-Brown line renovation) ...


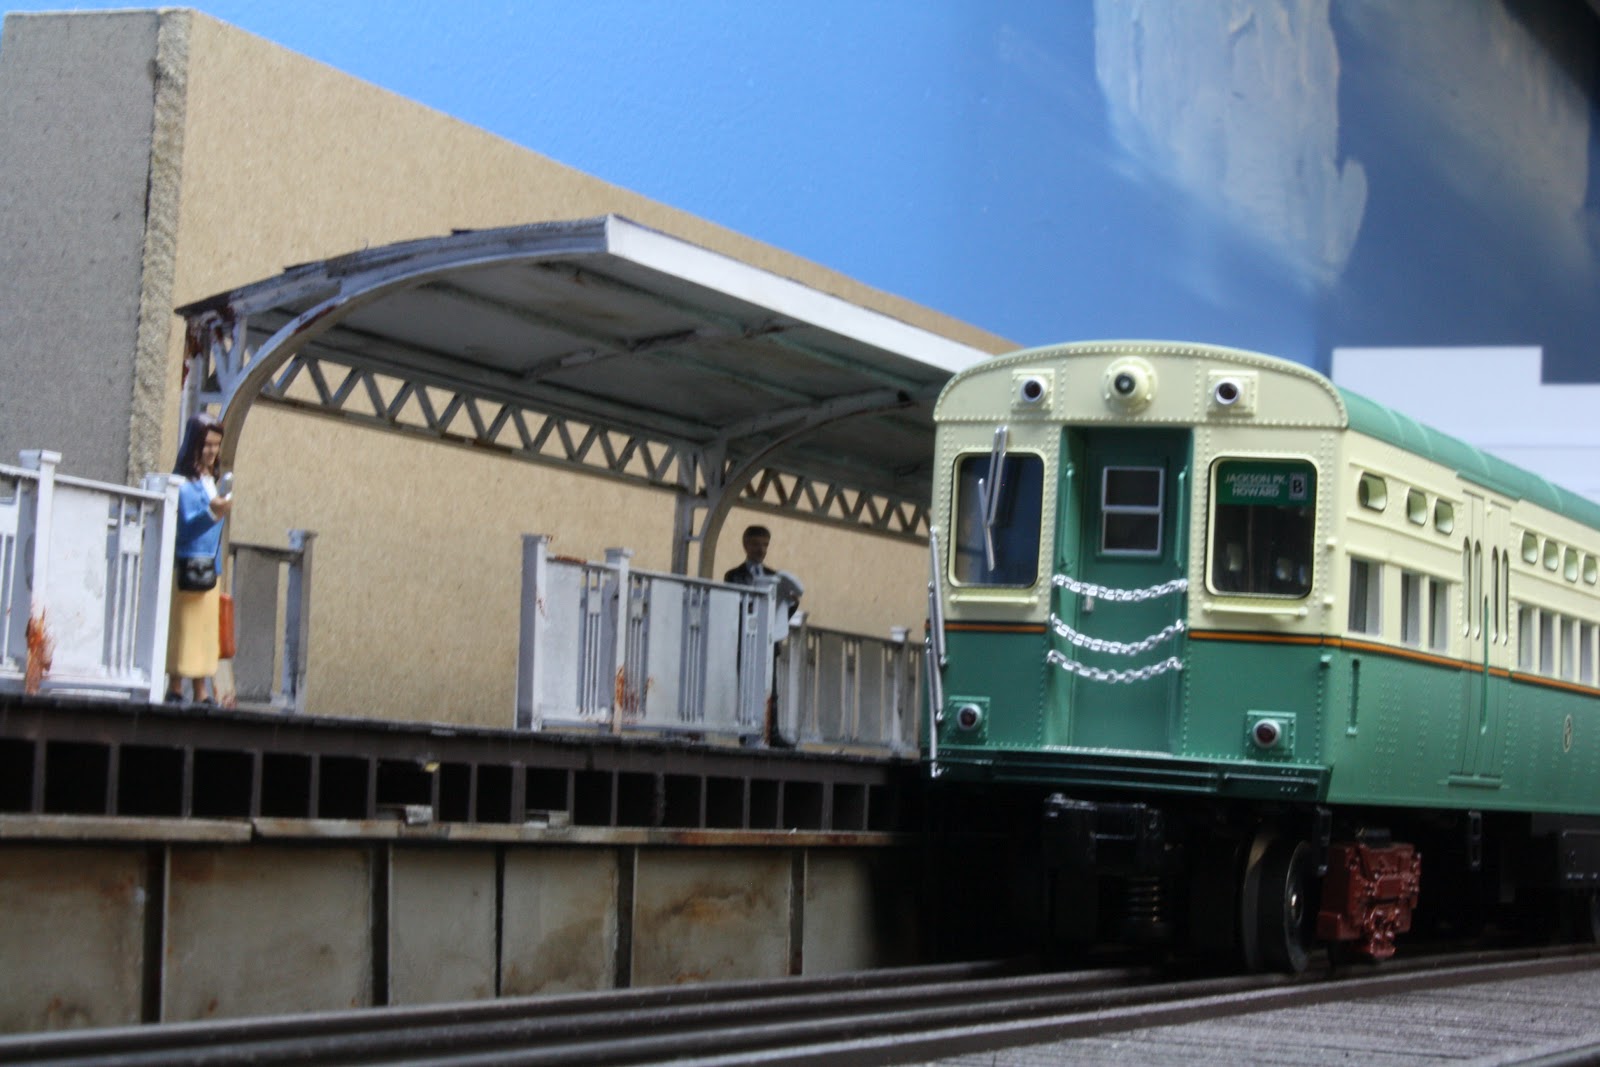


I did a basic "tar paper" roof on the canopy (painters tape painted flat black.

Also, recently there was an accident on the Red Line where a train had an interesting splitting of a switch/tracks. I re-created the incident on the layout for accident investigation purposes ...


Luckily there were no injuries reported. 

Monday, September 24, 2012

Projects for September

Fall means football, but some projects can still get done in a little spare time.

I started building some background buildings for the curve into the Cabrini Green area. I made the back of a basic frame house and a generic brick building/factory for the area behind the tracks.


In front of the tracks I made an enclosed back porch for one of the two flats and a brick garage. I still need to weather, add window glazing and final paint touch ups, but the majority of the work is now done.

I also started construction on a commercial building that will go next to my other station. This will be a "half" building that will be up against the backdrop. The front facade is mostly done, I still need to make the side and the rear.


 Speaking of the other station, I finally got around to contacting Jimmy Simmons at Monster Modelworks about having the railings for my station laser cut. I also inquired about having the canopy supports cut also. Jimmy was kind enough to walk me through the process, and after I made some drawings in Corel Draw, he sent me the below samples.


The laser cut pieces are on the right (in dark brown). My homemade railing section is on the left. I tested a couple of different spacing options on the laser cut railing section, that's why the spacing is a little off (that's what my story is ... not that I goofed the drawing). The parts are cut out of .025 laser board and the vertical supports on the railing are 0.025 thick.

I adjusted the Corel Draw drawing to correct the spacing and am having Jimmy cut the canopy supports out of 1/8" thick material instead of the 0.025" laser board (a wood-like material). I will be adding 0.080" Evergreen angles to the top and bottom of the railing sections. Having the railings laser cut will save a lot of time and make for a very consistent railing.

I've also started the new curved section next to the Sheridan Road station. I will call this the Sheridan curve or more appropriately the fuse box curve.


One big advantage for 3 rail is that I can turn a 90 degree corner in barely 21 inches. I did test that a train will clear the fuse box on the right, if by about an inch.


I built a new stand for the TV behind this section, so there's no interference there either. I thought about shortening the Sheridan Road station by about 5 inches to move the curve over, but since it does fix, I am going to leave it as is. This section will be completely independent of the rest of the structure to make accessing the fuse box easy, if needed. For photos or operations, I might attach a brick facade to the fuse box using magnets ... to act as a photo backdrop.

This shows how I build a curve ... I lay out the girders first to follow the layout of the track. This was a tough curve to build as the the track spacing goes from 4 inches to 7.5 inches to clear the platform station. So, I had to use more short sections of girder than I think i would have if the track spacing was consistent through the curve.

Monday, August 27, 2012

MTH 6200 Bicentennials

As mentioned in the previous post, i just obtained a set of MTH 6200's in the MTH version of the Bicentennial paint scheme. The paint scheme really isn't prototypically accurate, but the price was right and the detail is actually pretty good on these cars. Maybe one day I will repaint to something more my liking.


I still need to do some paint touch ups on the new two flat as can be seen in the close up photos.

One last:


I am still experimenting with depth of field and exposure for the "under the tracks" shots.

Thanks again

Sunday, August 26, 2012

The other side of the street

I just finished the other side of my residential street. I built a duplicate two flat and another background apartment building. I still need to add some detailing, but its done enough for pictures.


And I added a sign to the Cabrini playgound


Its now football season, so most weekends for the next 8 weeks will be busy attending games across the Chicago region, so not sure how much I'll get done. 

I did pick up a set of the Bicentennial 6000's, as seen in the above pictures ... so the roster is slowly growing!

Friday, August 10, 2012

Expansion - turning a corner!

I finally turned a corner ... literally. I have started the expansion of the current layout. So far, its just a 2 x 4 foot corner module, but its a start.


Since this corner is full of utilities, the module is removable. Its a little (half inch) lower than the rest of the benchwork so I can access the main fuse panel without needing to remove the module. I will add some plywood to act as a transition between the module and the existing benchwork.


In the above pictures you can see the paper templates of Ross sectional track that I used to make sure I could turn the corner. The curve fits barely. 

I don't think I'll have a backdrop here as I still need to build a shelf above this for the basement TV (a must have for Cubs and Bears games). I'm thinking I'll just do some building flats.

The track will be on elevated structure that will be removable for easy access to the fuse panel if needed, plus the whole module is removable.


I'm not sure how I will connect the existing structure to the new curved structure. I may just line the two up and use the track as a guide ... or maybe some type of tab or key. I want to make the elevated curved structure easy and quick to remove for access to the fuse panel. I need to clean up the wiring to my home network stuff that can be seen in the last picture.

This is one big advantage of rapid transit 3 rail modelling ... I can turn an O scale corner is less than two feet and still look like the prototype!

Saturday, July 21, 2012

New Layout Progress Video and Photo Editing

One big positive from the recent visit to my layout has been some ongoing discussions with Eric Bronsky concerning photography and image editing. My photo skills are pretty basic, but with some assistance, Eric has shown me what can be done with actually knowing what your camera can do and what can be done with photo editing ... thanks!


A picture that Eric was kind enough to fix for me (and now you can see details clearly ... never thought about exposure before):


Also, I've recently posted a new layout progress video to Youtube:


Hope you enjoy.


I've also have had more success in casting the windows. I switched to a new resin, and after actually READING the instructions (when it says to stir one of parts before mixing, make sure you do it), I've been getting some better window castings. I'll post pictures and methods soon.


Also, I've just got some inkjet decal paper from Evans Designs. According to their website, this looks to be very useful in modeling painted signs on buildings. I'm going to give it a go and will report back.

Monday, July 16, 2012

Visitors to the layout

This past Sunday, Eric Bronsky and Dan Joseph were kind enough to take the long trek out to the beautiful, if drought ravaged southwestern suburbs to visit the layout. Eric brought a gorgeous St. Petersburgh trolley bus and Dan some MTH NYC subway cars. A good time was had by all and many interesting (esp. with the NYC subway cars) pictures were taken.

It was quite appropriate that Eric made a visit to my layout as his article on Chicago's L in a 1976 issue of Model Railroader got me started in this business. I was given that issue as a kid by my uncle and have kept it ever since ... its just a little worse for the wear now. Also, Eric's modeling column in First and Fastest that showed Chicago transit modeling has also been quite the inspiration. Without showing the beautiful work of all those who have been featured, I don't think I would be where I am today. 

Now for the pictures ...